In this post, we will learn:
What is it used for?
The basic principle of the rule is that it adds an additional value to the existing element selected by us.
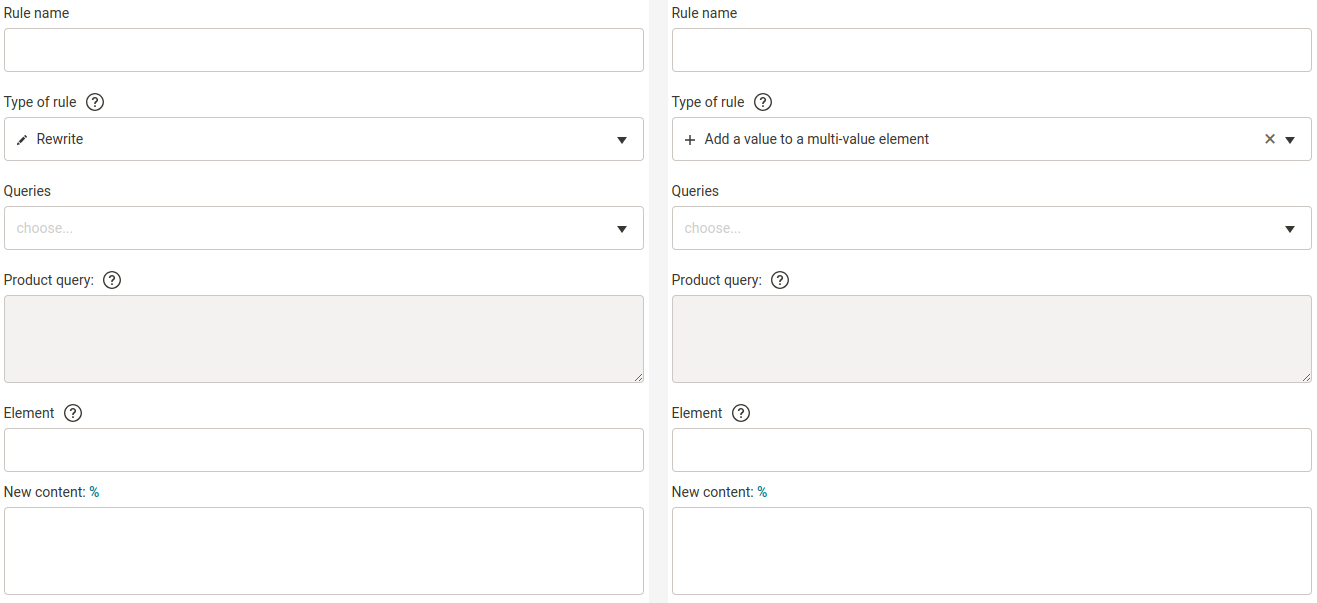
The rule looks and works similar to the Rewrite rule, except it doesn’t rewrite an existing value, but “the new one that doesn’t exist yet” (= adds a value). Find the difference on purpose:
How does the Add a value to a multi-value element rule work?
The rule works intuitively. Specify the path to the element to which the new value should be added, and the value itself. After applying the rule, we add the value to the element.
Example:
Consider the following data:

Use the Add a value to a multi-value element rule to add another image URL.
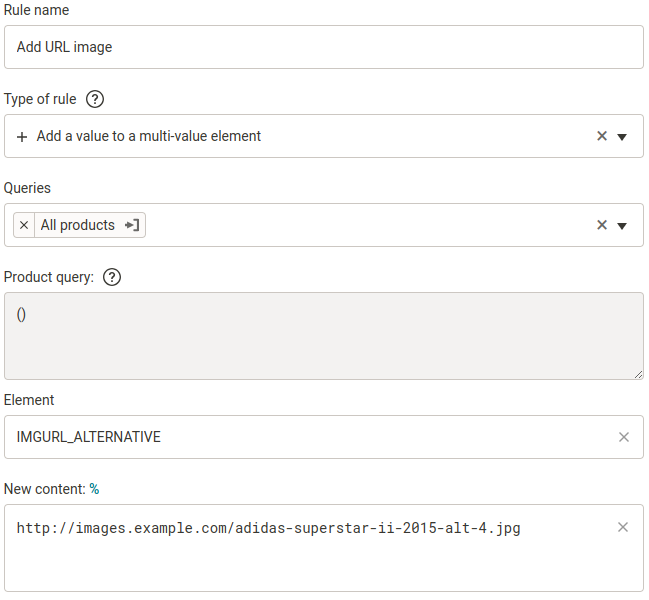
After re-generating, we see that we have added another value to the IMGURL_ALTERNATIVE element:

In the element path, the special attribute @@POSITION cannot be used to specify which position to add the value to. The value is always automatically added to the next available position.
Example: The selected element is empty, so the rule will add the value to the first position.
Example: The selected element has one value, the rule will add the new value to the second position, etc.This makes this rule different from other rules where the element path can be used to specify and modify the value at a specific position.
The rule itself does not add value structurally
Beware of cases where we would like to add another value to a nested element that has a structure such as parameter, delivery, variant, flag, etc.
Example: wrong
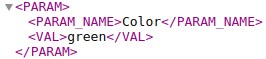
Let’s say we have a Color parameter for a product and we want to add another Size parameter to it. You might think that we could just use the Add a value to a multi-value element rule and specify the path PARAM | PARAM_NAME and the value Size:
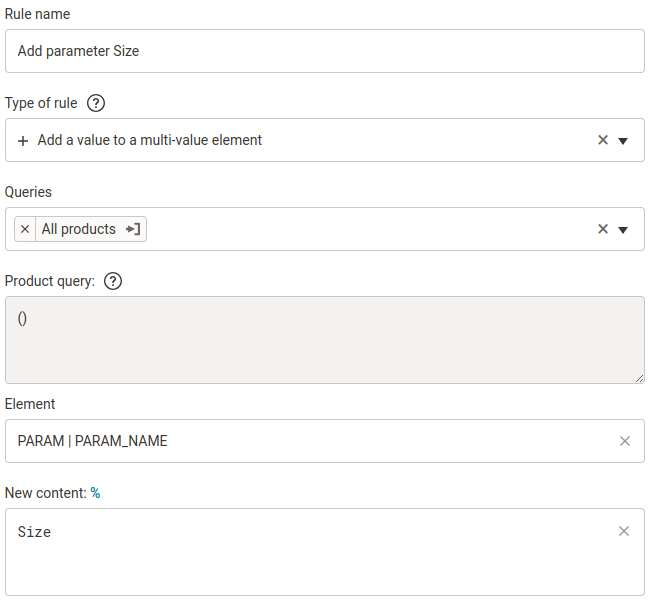
But after the re-generation we get:
Why? Because we told the rule that we want to add a value to the PARAM_NAME element for all PARAM elements. And the rule just obeyed us. So we have to modify our procedure.
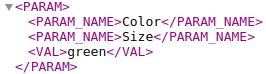
Example: correct
The correct procedure is as follows: Using one Rewrite rule, we add values to all elements of the given part of the structure. Specifically, we add a value for VAL and also for PARAM_NAME:
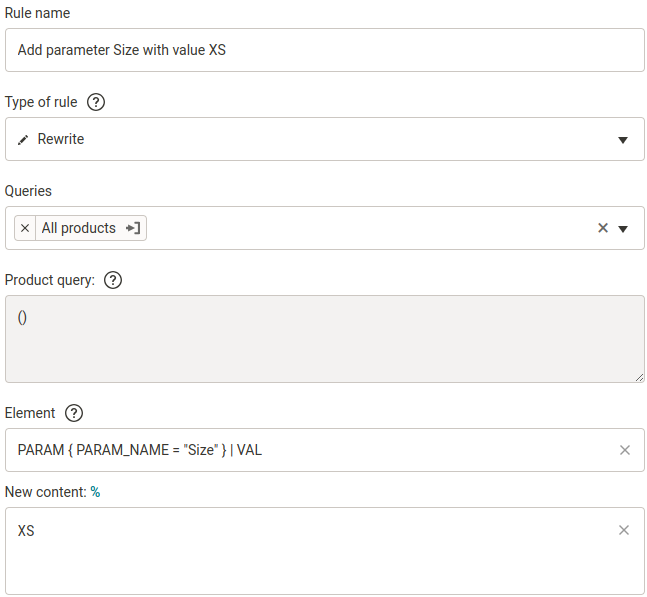
We use general rule behaviour here, which says: When writing to elements - anything that is specified in a condition and is with operator = or the AND join operator will be created as well.
In some cases, when we have the same structure in other elements as the elements where we want to add multiple values, it may be more convenient to use the Bulk copy values rule, where we prepare multiple values that we then just rewrite.
Most common uses
1. Image URL
We showed an example in How does the Add a value to a multi-value element rule work? The example is given for the Heureka format, but just type the path to any element we need in the path and the rule will work for other formats as well.
Example paths:
IMGURL_ALTERNATIVEg:additional_image_linkIMAGES | IMAGE
2. Category
The procedure is the same as for images.
Example path for Shoptet: CATEGORIES | CATEGORY.
Summary
-
How does the rule work?
The rule works intuitively. Specify the path to the element to which the new value should be inserted, and the value itself. After applying the rule, we add the value to the element. -
Structured value addition
The rule does not add values structurally. If we want to add values structurally, we use the Rewrite rule. -
Most common use
The most common use of the rule is for image URLs or categories, for example.