First of all, you need to activate the Mergado Marketplaces app in Mergado Store. Before you start, make sure you have:
Verified business account on Allegro
Not sure which output feed format is best? Mergado Marketplaces accepts all formats offered by Mergado Editor. However, there is a new Mergado Marketplaces feed format that you can use to synchronize both product data and availability. More information here.
In this post, we’ll show you how to create a campaign and upload products to Allegro. Before we begin, make sure you have created and verified a business account on Allegro, and that you have filled out the shipping, complaint and return policies. The detailed procedure for registering a business account on Allegro can be found here.
![]() Please note that the market where you create your account will be your default sales channel. The default sales channel cannot be changed, and you must always display your offers on this market. Therefore, if you want to sell on allegro.cz, create an account on Czech Allegro, if you want to sell on allegro.pl, create an account on Polish Allegro and if you want to sell on allegro.sk, create an account on Slovak Allegro. Within Allegro you can then post these offers on other markets, for more information see here
Please note that the market where you create your account will be your default sales channel. The default sales channel cannot be changed, and you must always display your offers on this market. Therefore, if you want to sell on allegro.cz, create an account on Czech Allegro, if you want to sell on allegro.pl, create an account on Polish Allegro and if you want to sell on allegro.sk, create an account on Slovak Allegro. Within Allegro you can then post these offers on other markets, for more information see here
Connection creation
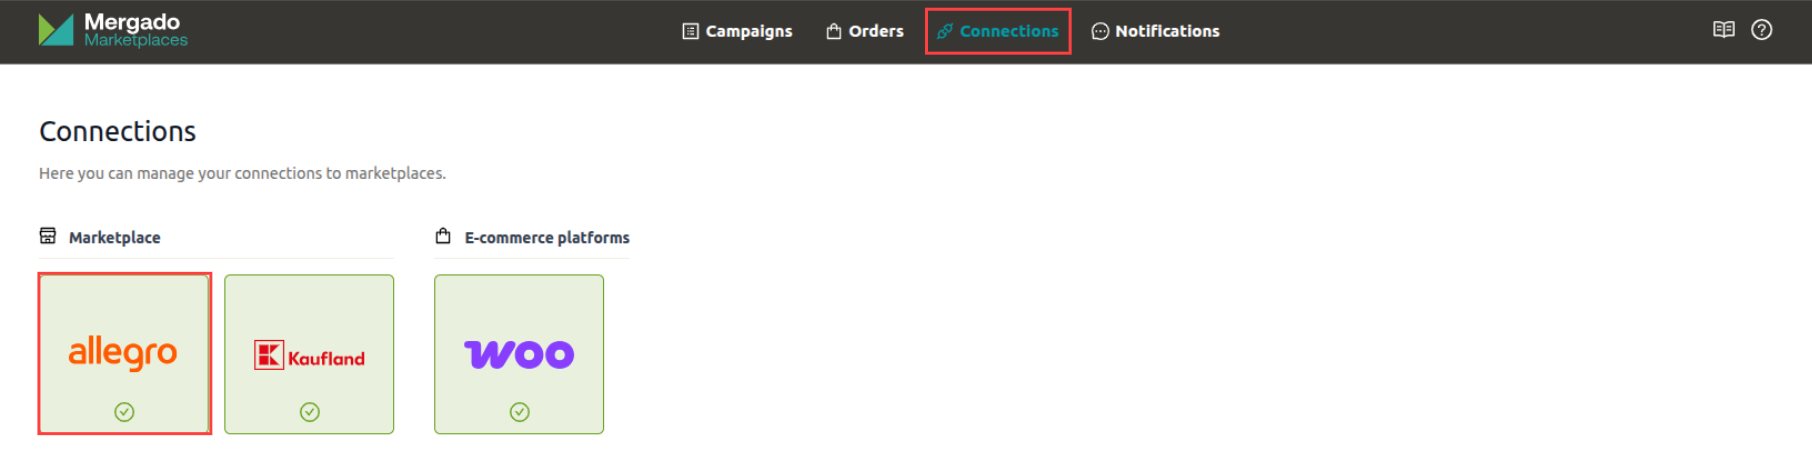
The first thing to do is to create a new connection to Allegro in the app. Go to the connection menu and then click on the + icon in the blue circle.
Click on the “Connect” button.
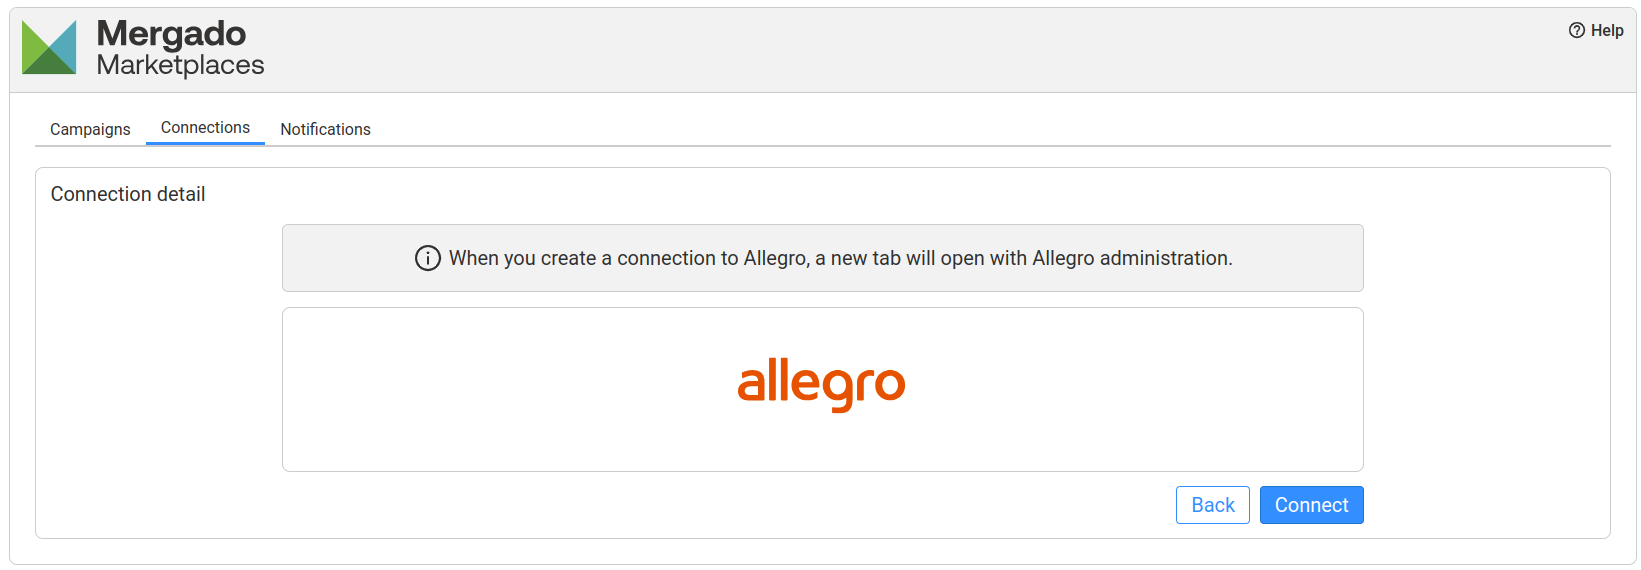
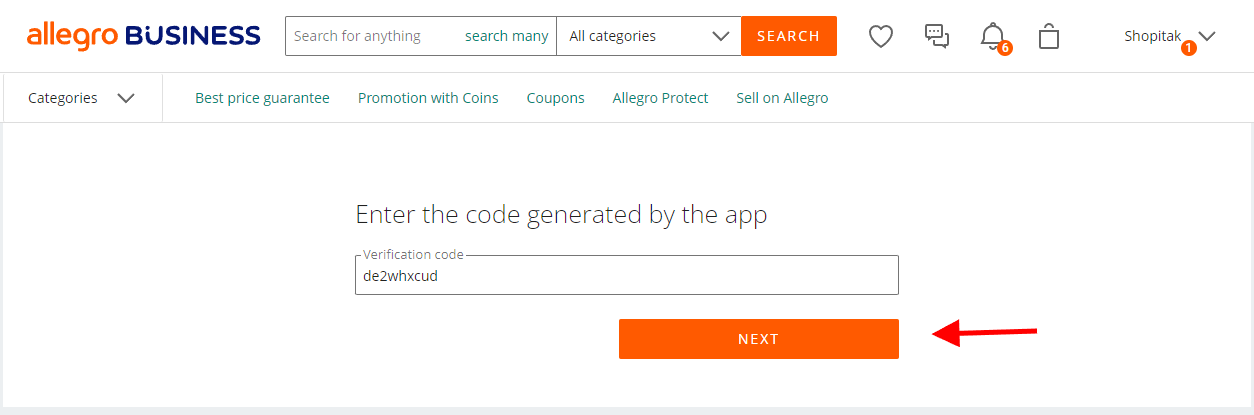
When you click on the “Connect” button, a new page will open in your browser, click on the “Next” button.
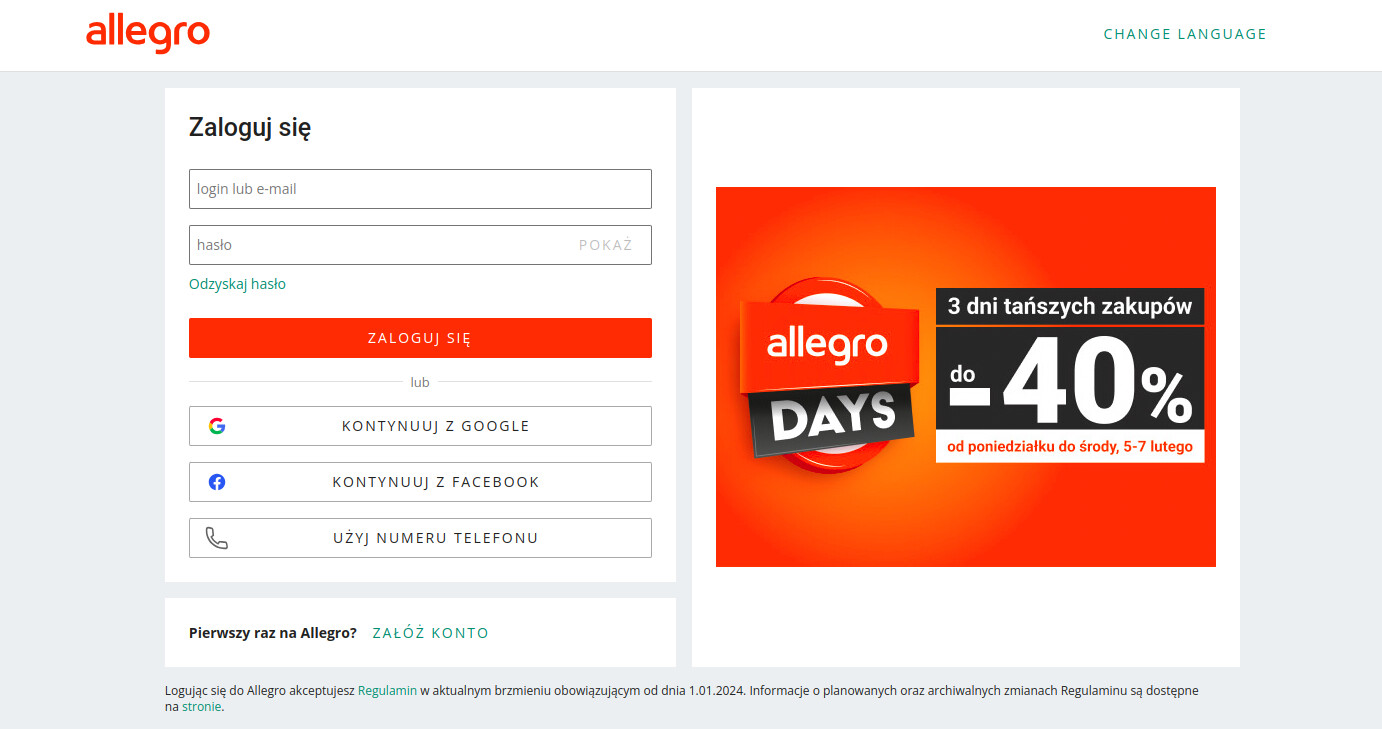
If you are not logged in, enter your login details and log in.
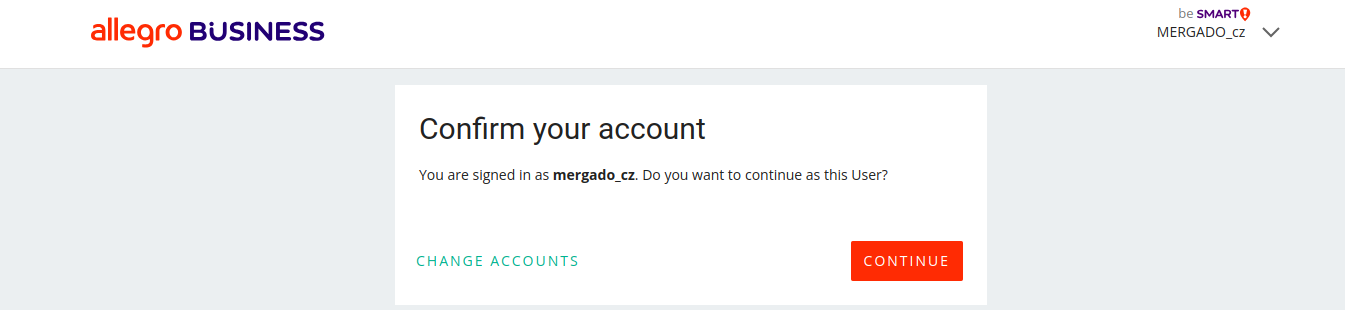
Confirm the application is connected to the account by clicking “Continue”.
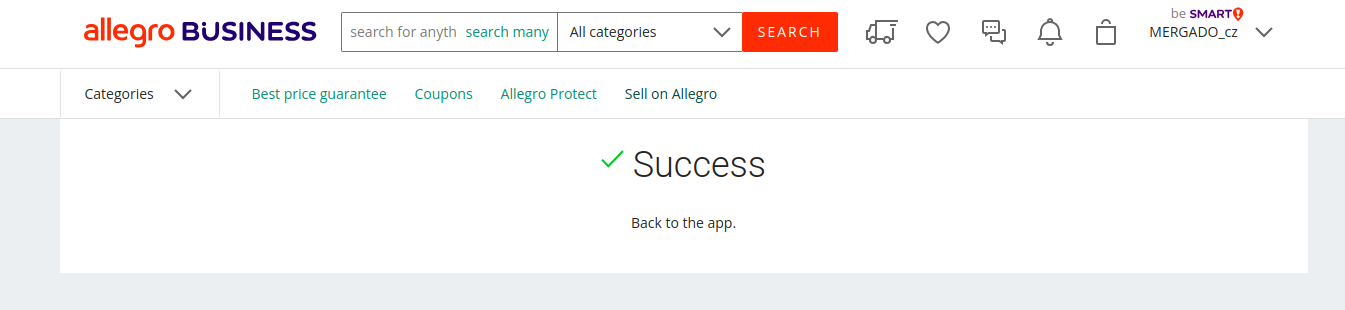
Allegro will notify you on the last page that you have successfully connected.
Then return to the app, where you will see the successful connection message. Instead of the + button, you now see a green check mark icon:
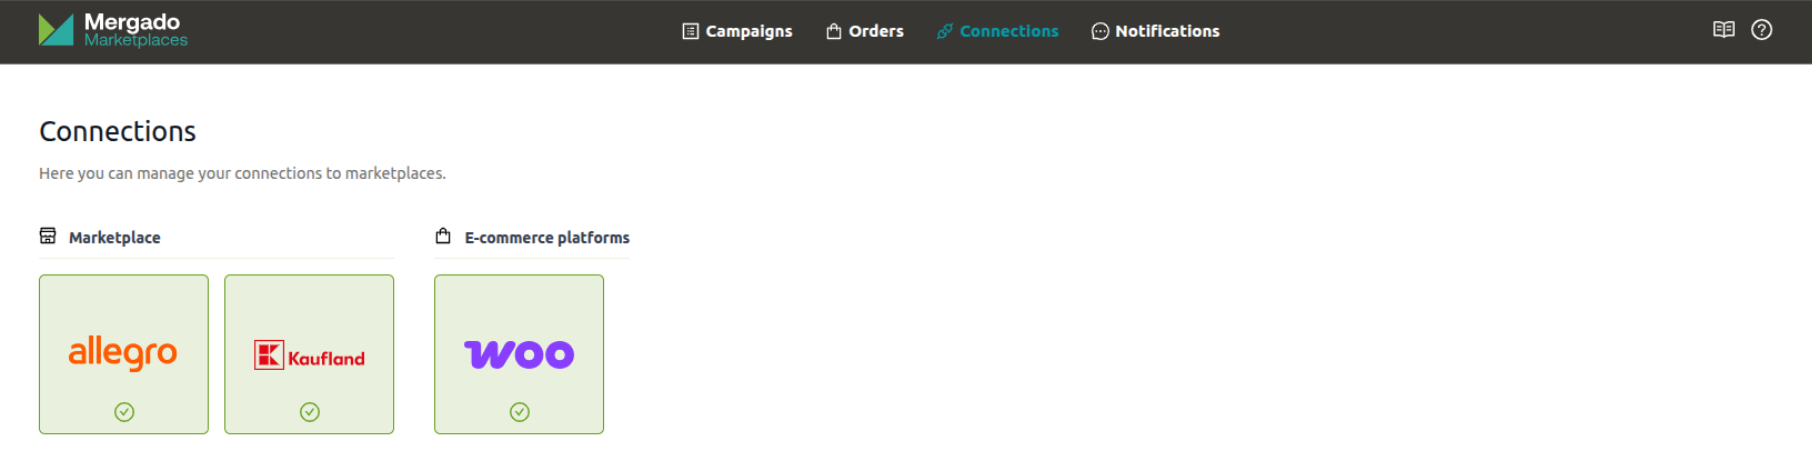
You are now connected ![]()
Creating a campaign
Once you have created your connection, go to the “Campaigns” tab in the menu and you will see a “Create Campaign” button in the middle of the page. You will be greeted by our 5-step guide to creating a campaign.

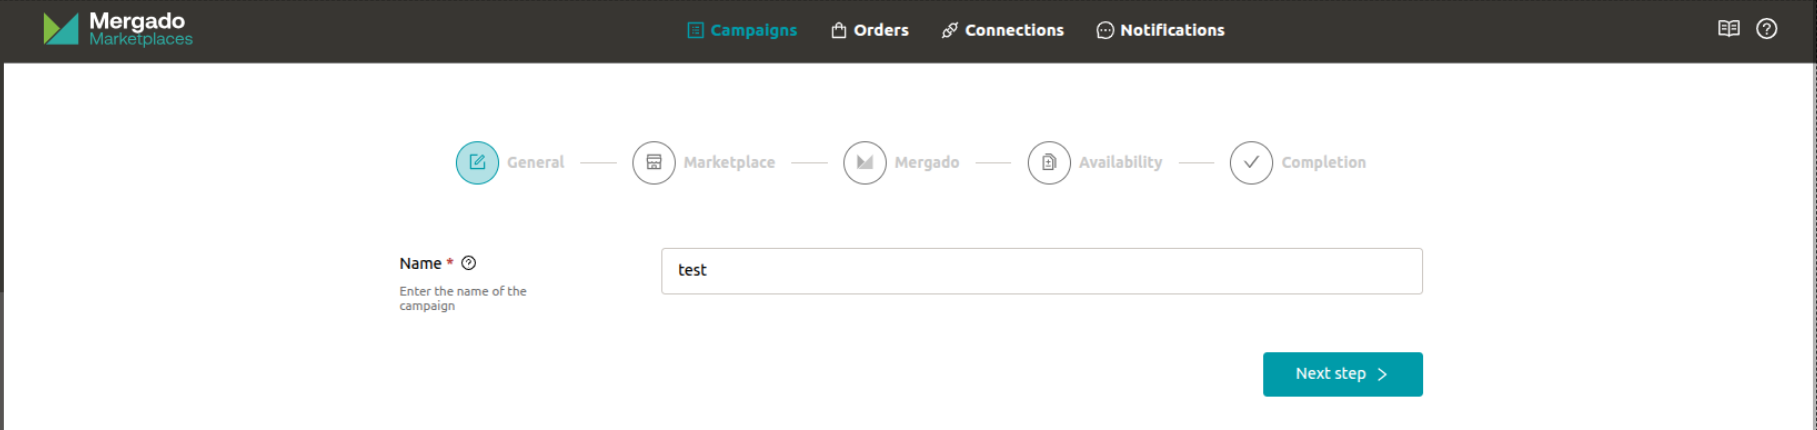
1. General
The first step is to determine the name of the campaign. The name can be anything you want, but we recommend a name that lets you know what the campaign is about at a glance.
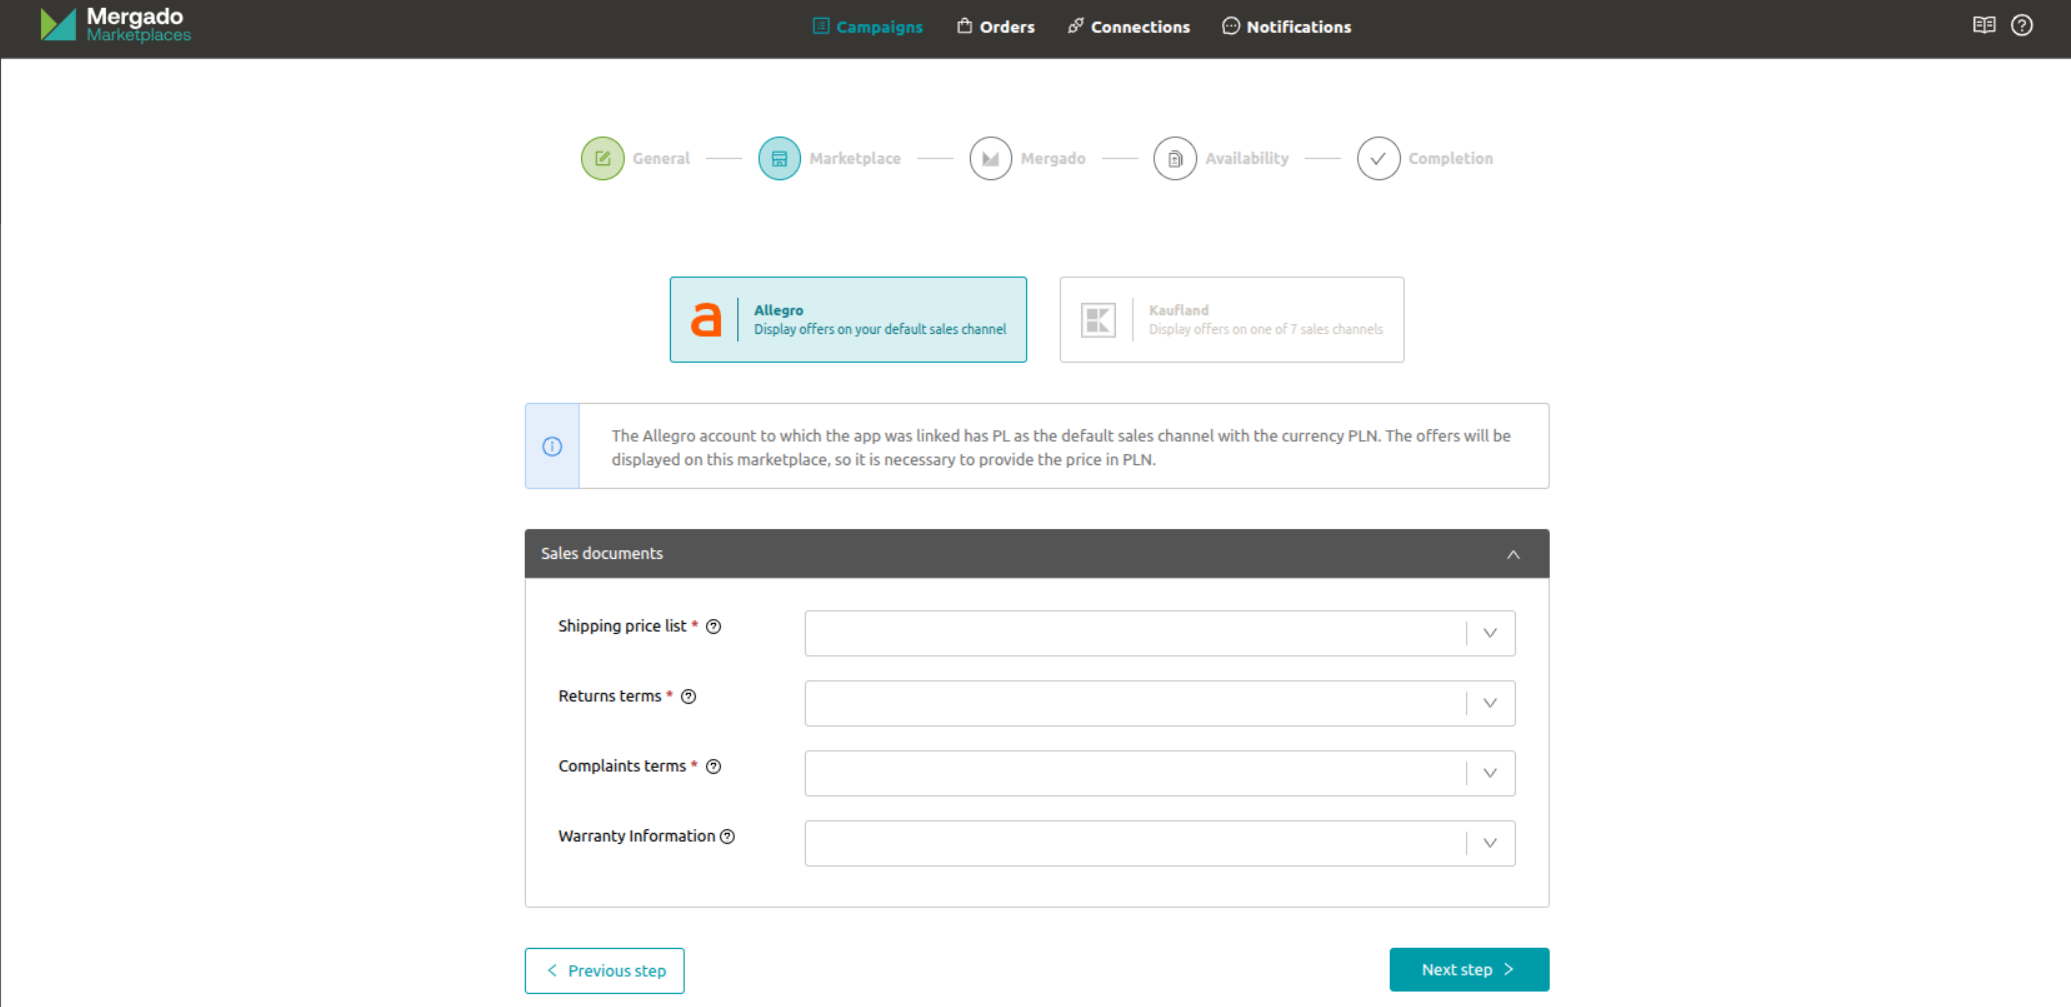
2. Marketplace
The next step is to choose and set up the right marketplace, in our case it is Allegro. An information window will notify you what your default Allegro sales channel is that you will be selling on. Bids will be displayed on this marketplace, so you need to pair the price in the currency of the default sales channel.
Now you need to select Shipping price list, Complaint terms and Return terms for your campaign. Optionally, you can also add Warranty information. You can create these sales documents directly in the Allegro administration in the sales settings section.
3. Mergado
In the next step, you need to select from which Mergado project and query you want to upload the products to the marketplace.
Don’t have a project to select yet? See how to upload a product feed to Mergado Editor here.

![]() If you don’t want to submit all products from a given project to the marketplace, create a query of products you want to list on the marketplace in Mergado Editor.
If you don’t want to submit all products from a given project to the marketplace, create a query of products you want to list on the marketplace in Mergado Editor.
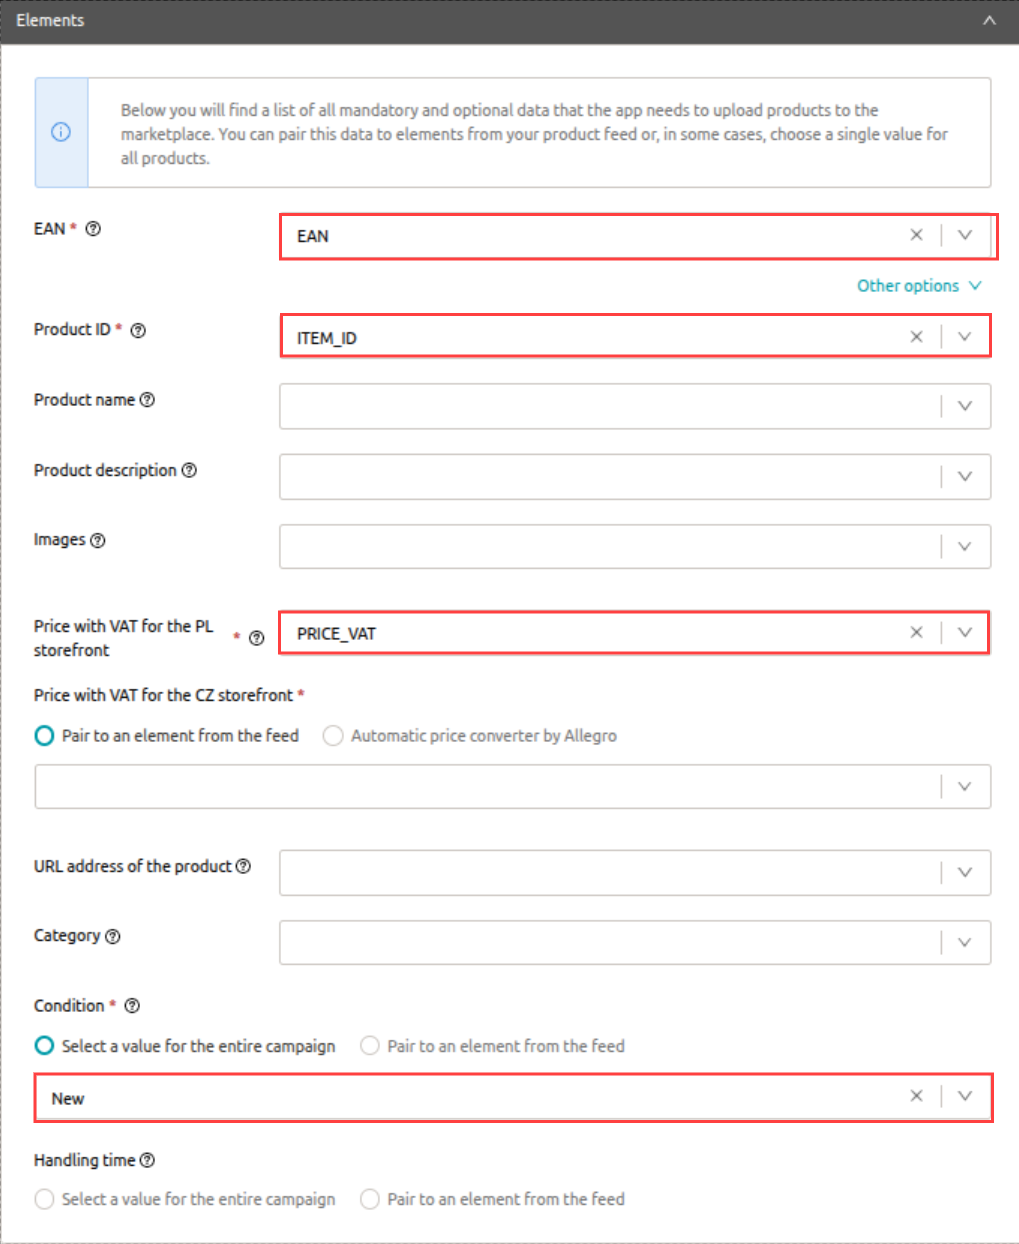
Then the section for mapping elements from the selected project in Mergado Editor to elements in Marketplaces opens. It is obligatory to map the elements ‘EAN’, ‘Product ID’, ‘Price with VAT’ and ‘Condition’. Elements ‘Product name’, ‘Product description’ and ‘Images’ are optional, but if you pair them, we will try to send your product data to Allegro.
In this step, you can also select ‘Condition’ and ‘Handling time’ uniformly for the whole campaign (for example, if you only sell new products). The other option is to pair these values with your feed elements.
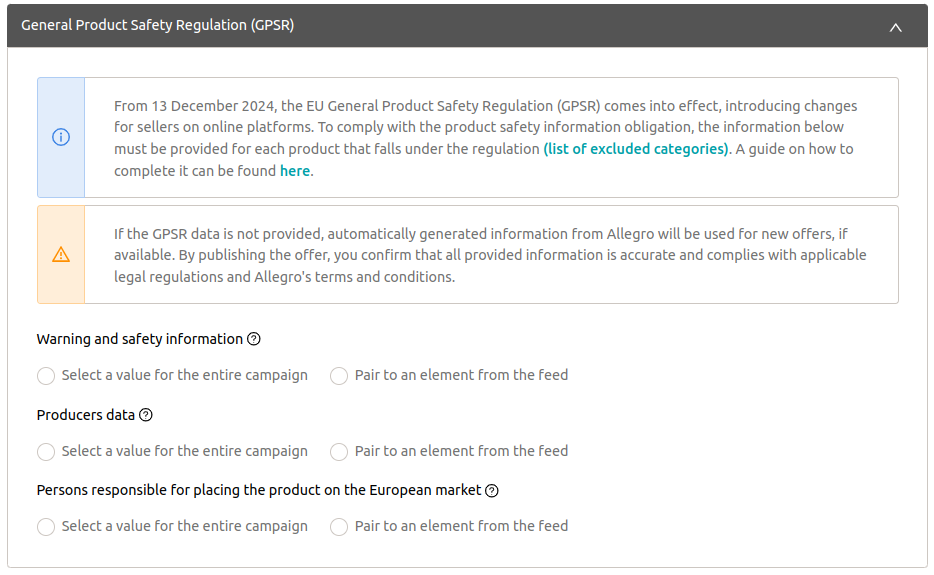
GPSR regulation
At the end of the Mergado section, you need to fill in the information associated with the GPSR regulation. For more information about GPSR see here.
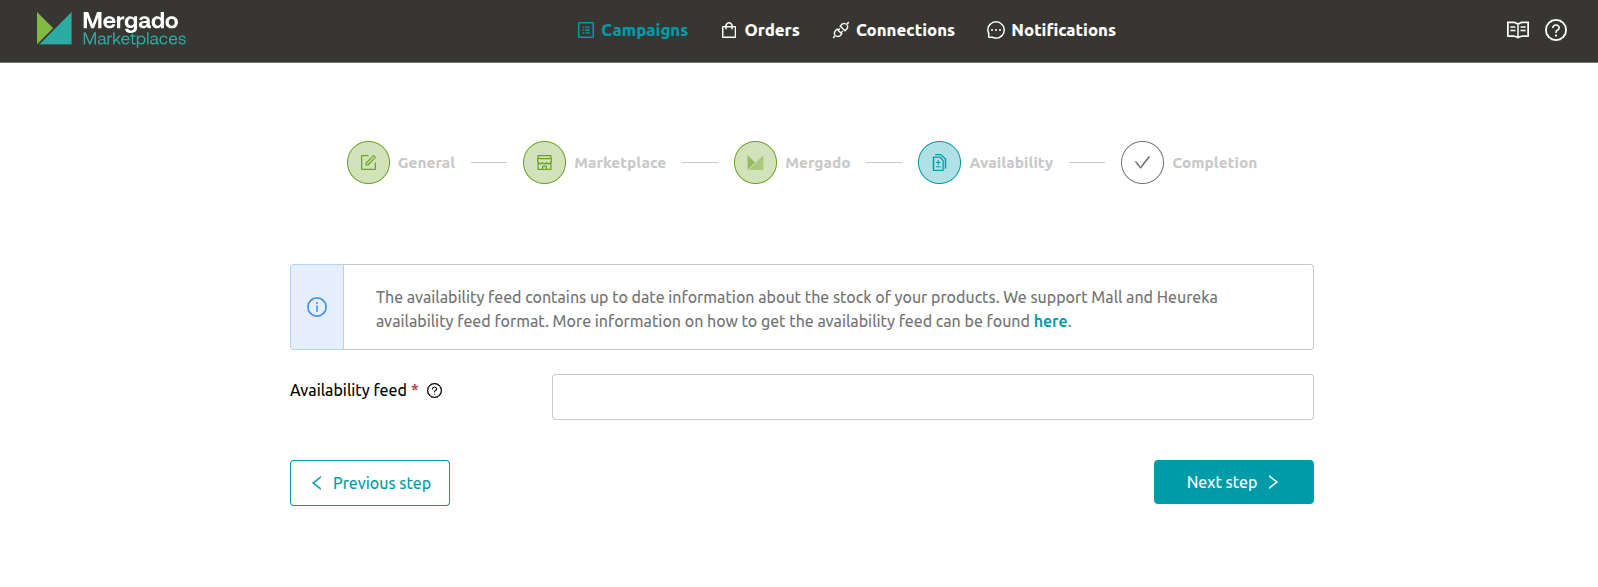
4. Availability feed
The next step is to set up the availability feed. Here you just need to specify the address of your availability feed. We support Mall and Heureka availability feed. The application will check the inserted availability feed. If you get the information that all products are missing, you have probably entered a different availability feed or you have incorrectly mapped the product ID in the Mergado. step.
![]() If you don’t have an availability feed in Mall or Heureka format, you can create one using the Mergado Editor. More information can be found in our article here.
If you don’t have an availability feed in Mall or Heureka format, you can create one using the Mergado Editor. More information can be found in our article here.
If you encounter the error message “An error occurred while downloading the availability feed, make sure the file is available”, it is likely that you have an availability feed secured and the application cannot access it. If you have your e-shop on Shoptet, here you can find instructions on how to adjust the security of your availability feed in Shoptet administration so that the application can access it.
5. Completion
The last step is to summarize your campaign settings. Here, just check that you have set everything up correctly, and correct the details if necessary. Finally, click “Save”.
![]() The campaign has been created, and your offers are now being uploaded to Allegro. This process may take some time, so please be patient. However, this is not the end of the process of uploading offers to Allegro. It is a good idea to check the number of uploaded and not uploaded products and correct any errors.
The campaign has been created, and your offers are now being uploaded to Allegro. This process may take some time, so please be patient. However, this is not the end of the process of uploading offers to Allegro. It is a good idea to check the number of uploaded and not uploaded products and correct any errors.

After the synchronization of the product feed is complete, click on the campaign detail and check the validation section for any error messages. For an explanation of the most common validation messages, see here.
![]() Do you get the error message “No product card was found in the Allegro catalogue under this EAN code, please go to the ‘Product cards’ section to create one”? This message means that there is no product card for the products in the Allegro catalogue yet. Detailed instructions on how to create a product card via our app can be found here.
Do you get the error message “No product card was found in the Allegro catalogue under this EAN code, please go to the ‘Product cards’ section to create one”? This message means that there is no product card for the products in the Allegro catalogue yet. Detailed instructions on how to create a product card via our app can be found here.