Have you turned on the Mergado Notification app and are wondering how to get the webhook URL when creating a new connection? ![]()
In this guide, we’ll show you how to do it. ![]()
You can create the webhook URL in the Rocket.chat administration.
Please note that you must have admin permissions to access the administration panel.
Proceed as follows:
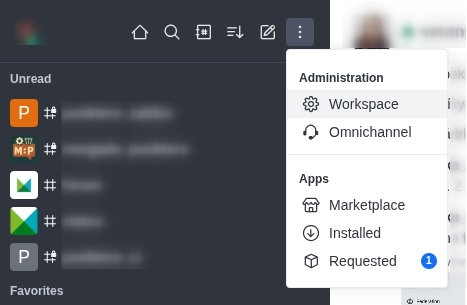
- In your workspace, go to Administration > Workspace > Integrations.
- Click New at the top right corner.
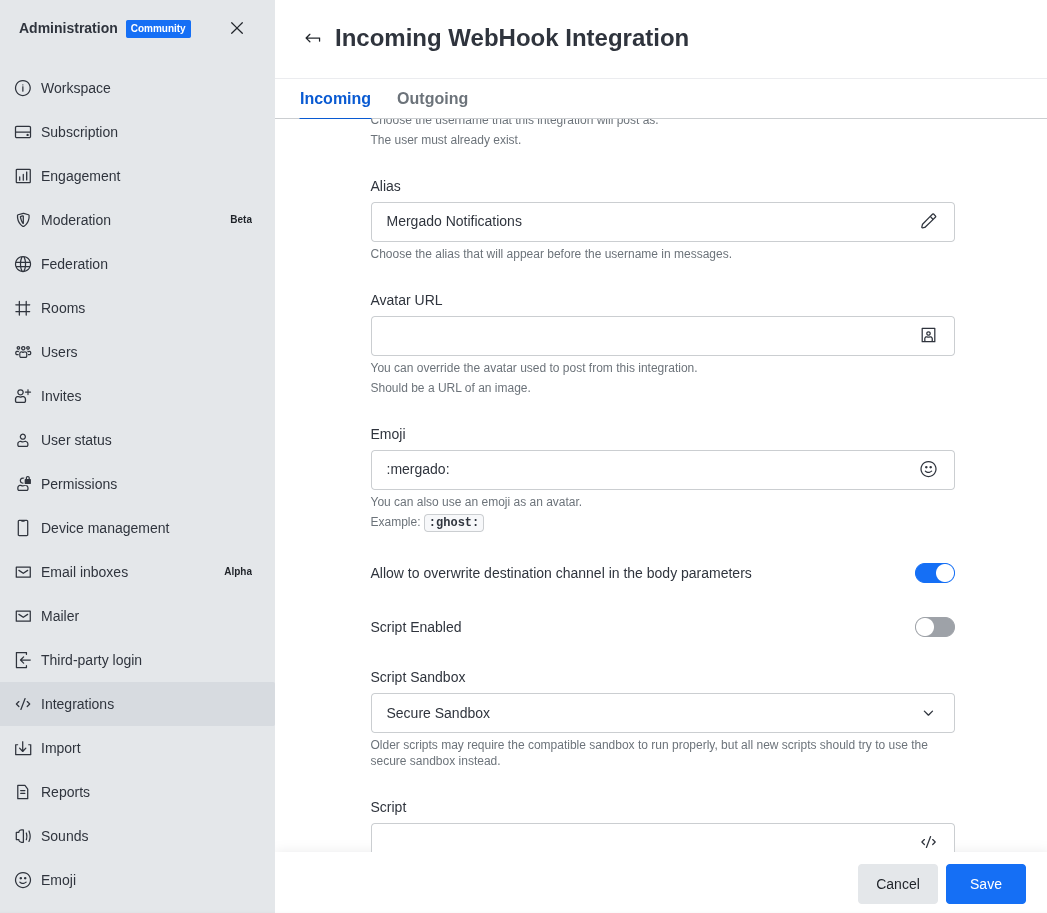
- Switch to the Incoming tab.
- Select the Enabled toggle option under the Settings tab.
Now fill out the form as follows:
Name- the name of the webhook - e.g. “Mergado Notifications”Post as- an existing user whose name will be used to send notifications. If you do not yet have such a universal user, set it up here.Post to Channel- the default channel where notifications will be sent - the user specified inPost asmust be added to this channel, otherwise it will not work.Alias- the “name” under which notifications will be displayed (if not specified, it will be the name of your universal user, see “Post as”).Avatar URL- you can change the avatar logo, but you don’t have to.Emoji- you can enter any emoji in Rocket there.- Check
Allow to overwrite destination channel in the body parameters - Uncheck
Script Enabled
After clicking Save, the following page will appear, where you can copy the created Webhook URL.
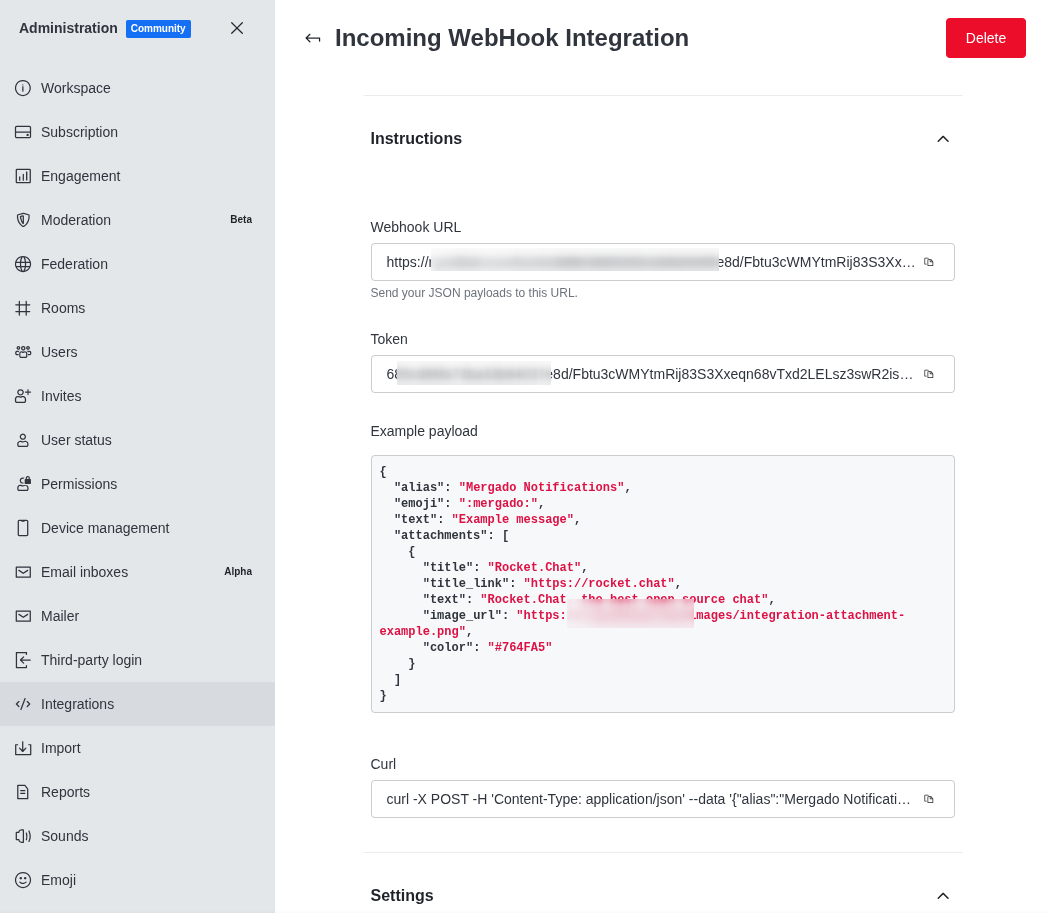
![]() Enter the Webhook address you obtained into the Mergado Notifications application.
Enter the Webhook address you obtained into the Mergado Notifications application.